


Supplies for Paper flowers
2" scallop circle punch
paper- this is a great scrap buster
pen (or something similar)
ink and dauber (optional)
Punch out your scalloped circles for this card I did 3...2 with one side of the patterned paper and 1 with the back of the paper for contrast
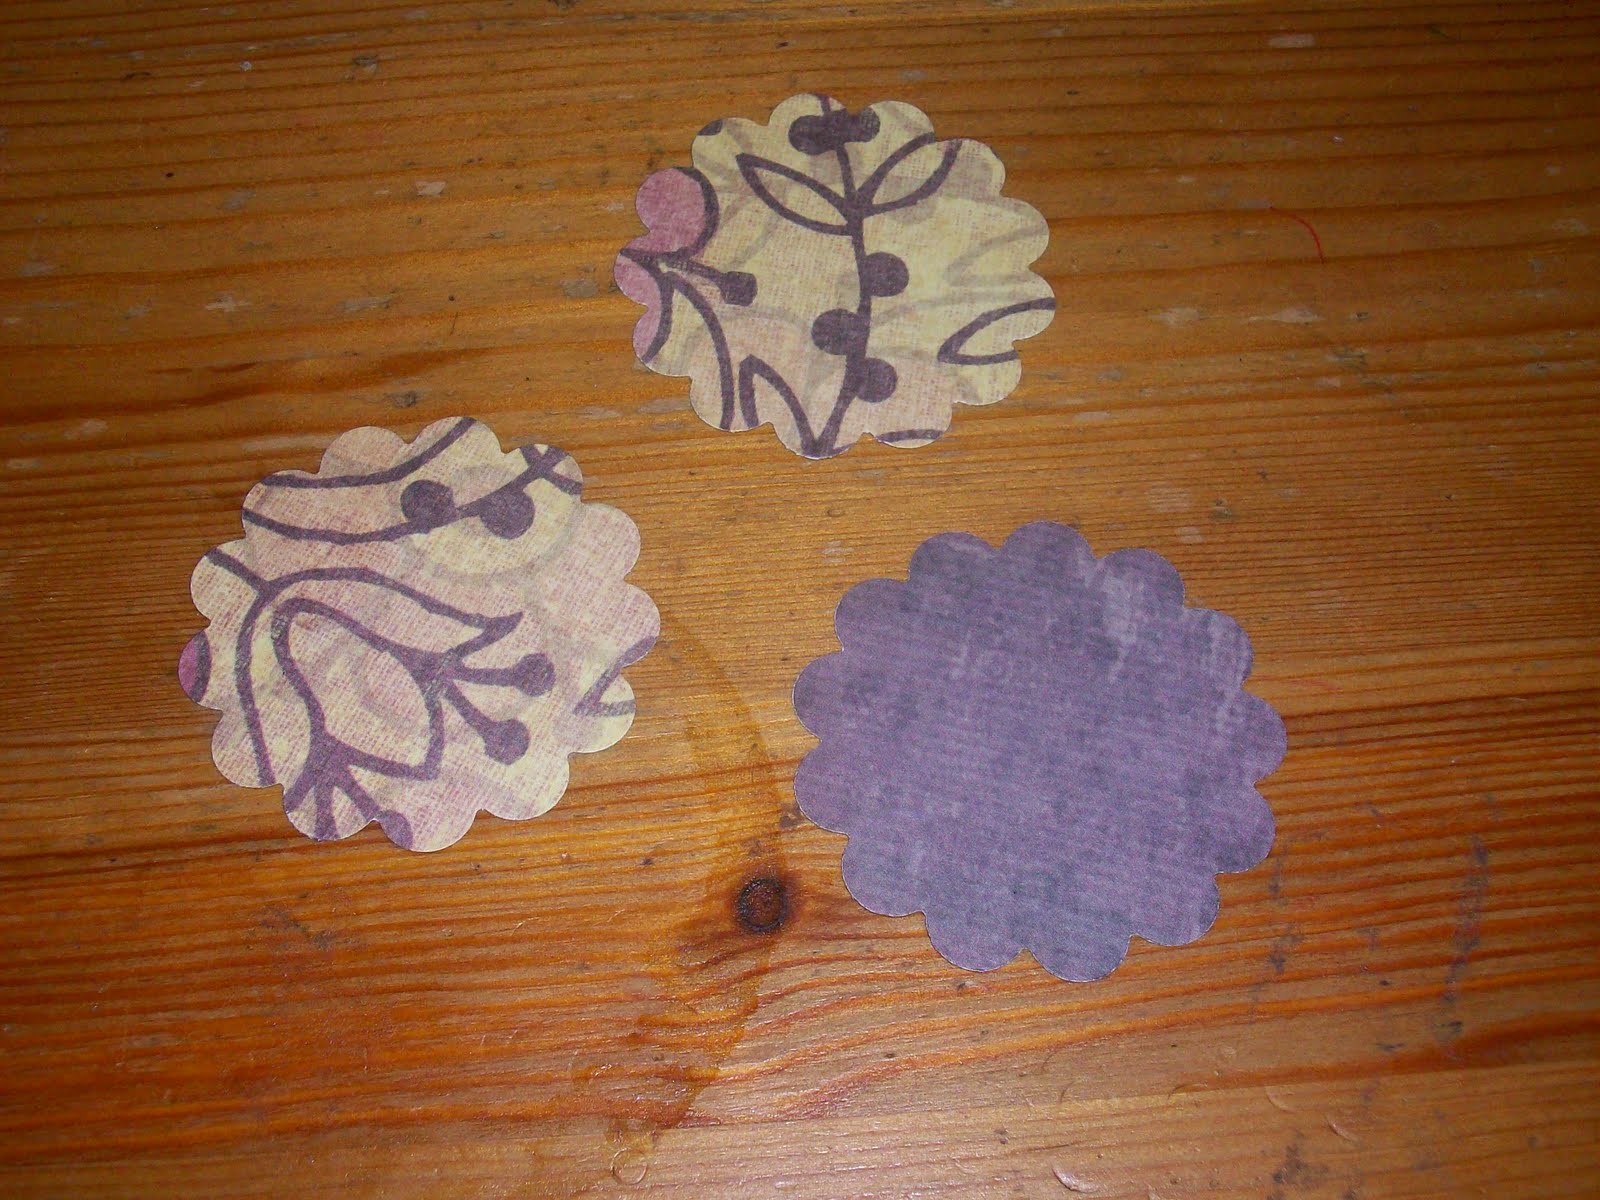
If desired ink your edges of your soon to be flowers before you start cutting (who doesnt love an inked edge?)

Now you are going to make small cuts (do NOT go all the way to the center or your petals will fall off) between every 2nd scallop *my puch has an odd number of scallops so on my last set of 3 scallops I just have a set of 2 and one all by itself...excuse the nailpolish please

Okay this next part might be hard to explain but I will try my best...place your flower right side down on a soft surface...I used my couch, you could use a piece of foam or something similar. with the end of your pen make circular motions on each petal...you can press hard just dont go to fast and tear your petals..once you have done each petal you should have a little dome shape

Disclaimer...if you do this on your couch I suggest you learn from my mistakes and put a paper towel in between your flower and your couch if you are inking the edges...luckily I have a dark couch!
After you have your little dome shape turn it right side up and using your pen press in the middle so your petals pop up. you can them embelish your flowers with whatever you like, I choose buttons


Then you can add them to your card...here is my finished card that I made with these flowers

here are some other cards I made with this type of paper flower...


No comments:
Post a Comment